
Wildlife photography with a smartphone is a practical way to record your Uganda safari without carrying a dedicated camera system. Aim for animals in their surroundings, interesting behaviour and a visual story of your trip. Detailed portraits of distant wildlife are less realistic, especially if your phone has limited optical zoom.
The priority is not getting closer to animals. It is knowing your phone, choosing achievable photographs and working within the rules of each activity. No encounter, lighting condition or photograph can be guaranteed.
Plan photography around your Uganda safari
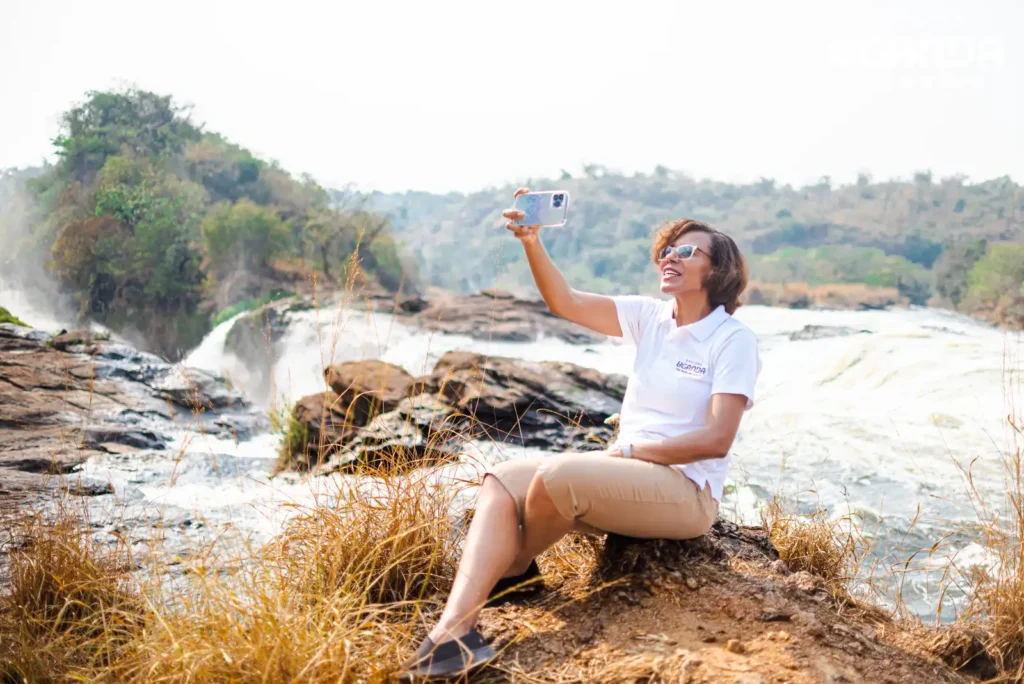
Start by deciding which images matter most to you. Landscapes, animals in their habitat and small travel details are often more achievable with a phone than frame-filling photographs of distant birds or fast-moving animals.
Share your interests before the itinerary is finalised. Ask whether activities allow time to pause, whether transport is shared and which photography restrictions apply. Do not assume a safari includes photographic tuition, specialist equipment or extra time at sightings.
Choose a few themes rather than a list of required species. You might focus on wildlife within wider landscapes, patterns and textures, or changing light. Discuss your priorities with your companions so repeated photo stops do not become an unexpected source of frustration.
How to take better smartphone wildlife photographs
Phone photography on safari involves watching, waiting and making quick decisions. Keep your phone accessible, but avoid watching the whole encounter through the screen. Sometimes observing a scene first helps you recognise a better moment.
Work with distance, not against it
If an animal looks small on screen, include its surroundings rather than continually zooming in. Vegetation, open space and the direction the animal faces can help create a clear composition without filling the frame.
Digital zoom generally enlarges or processes part of an image rather than capturing the detail a longer optical lens would provide. Results vary by phone, so test your lens settings before departure and learn which produce images you are happy to keep.
Where a safe, permitted adjustment is possible, try framing the animal without distracting branches crossing its head. Otherwise, accept the available view rather than moving beyond an authorised position.
Keep the controls simple
- Clean the lens: remove fingerprints and dust with a clean microfibre cloth.
- Hold the phone steadily: use both hands when it is safe to do so.
- Set focus: tap the subject where your camera app allows.
- Adjust exposure if needed: try a small brightness adjustment if the animal is too dark or the sky loses detail.
- Take a short sequence: capture a few deliberate frames, then look up and reassess.
Moving wildlife and dim conditions are demanding. Burst mode may help capture a useful moment, but it also creates more files to sort. Portrait and night modes can produce unwanted effects with movement; test them before relying on them during a sighting.
Timing, light and how long to allow
There is no fixed duration for smartphone wildlife photography. It may be an interest within an existing activity rather than a separate excursion. The time available depends on activity rules, other participants, travel commitments and the person leading the experience.
Ask where the schedule has genuine flexibility. A pause to observe behaviour may be possible in one setting but inappropriate during a managed wildlife encounter or a time-sensitive transfer. Never plan around assumed extensions to regulated viewing time.
Lower-angle light can be attractive, but dim conditions make movement harder to capture. Bright overhead light may create strong shadows, while softer light can make some scenes easier to balance. There is no universally best time that guarantees good phone photographs.
Plan around the actual activity and ask about conditions for your travel dates. Weather, visibility and animal behaviour remain variable. If Kibale is on your route, the Kibale National Park dry-season planning guide can help with broader preparation, but it is not a prediction for your visit.
After taking a short sequence, lower the phone and watch. This leaves time to enjoy the encounter and notice behaviour you might miss while reviewing images.
What to pack and prepare
You do not need a large equipment kit. Prioritise keeping your phone powered, protected and easy to use, with accessories stored securely.
- Microfibre cloth: keep it clean and accessible.
- Protective case: choose one that lets you operate the camera comfortably.
- Weather protection: bring a suitable pouch or dry bag rather than assuming your phone is waterproof.
- Charged power bank and compatible cable: check applicable transport rules before travelling.
- Secure carrying method: check that any strap or attachment is sound and suitable for the activity.
Prepare your phone before departure
Free storage space, charge the battery and practise opening the camera quickly. Learn how to switch lenses, set focus, adjust brightness and turn off flash. Check whether camera sounds can be silenced, and follow local instructions about noise and phone use.
Download any information you will need before leaving reliable connectivity. Set up a backup method and check whether it requires an internet connection. Test unfamiliar apps and accessories before making them essential to your plans.
If your itinerary includes Kibale, use the Kibale National Park packing checklist alongside your phone preparations.
Photograph wildlife responsibly
A photograph is never a reason to approach wildlife more closely. Follow guides, rangers and activity staff on viewing distances, movement and permitted positions. Do not lean outside a vehicle, leave an authorised position or step off a permitted route for a better composition.
Never call, bait, feed or otherwise try to influence an animal’s behaviour. Keep flash off and follow any stricter photography rules. If an animal reacts to people, follow the leader’s direction rather than continuing to pursue the picture.
Put your phone away whenever footing or instructions need your full attention. Accepting an obstructed view, a distant subject or no photograph at all is part of responsible wildlife viewing.
Ask before photographing people or sharing locations
Ask permission before photographing people, particularly when someone is the main subject. Respect a refusal without negotiation.
Before sharing wildlife images, consider whether precise location information could expose sensitive animals or sites. Avoid publishing it where protection guidance advises against doing so.
Fit photography into the wider trip
Let photography support the itinerary rather than turn every activity into a photo session. Walking, wildlife observation and scenic pauses offer different possibilities, but each has its own rules and practical limits.
If Kibale is part of your route, explore the guide to wildlife and experiences in Kibale National Park to help clarify your interests. Confirm current arrangements rather than assuming every activity offers the same photographic freedom.
This approach suits travellers who want meaningful images without a dedicated camera system. It can also suit companions with different interests, provided photo stops do not repeatedly delay the group. If detailed images of distant or fast-moving subjects are central to your trip, discuss those expectations before committing to arrangements.
Allow time to recharge and back up
Ask about charging arrangements rather than assuming particular sockets, power availability or in-room facilities. Check connectivity separately if uploading images matters to you.
Keep your evening routine simple: clean the lens, charge the phone, mark favourites and back up when practical. Leave detailed editing for later rather than sacrificing rest or starting the next activity with a flat battery or full storage.
Smartphone safari photography planning checklist
Use these questions when reviewing your itinerary. They are checks to make, not facilities or services assumed to be included.
| Planning point | What to check |
|---|---|
| Activity rules | Viewing limits, permitted positions and photography restrictions. |
| Shared arrangements | How stops and timing are managed with other travellers. |
| Camera controls | How to set focus, select lenses, adjust exposure and switch off flash. |
| Power and storage | Charging options, compatible cables and enough free space. |
| Weather protection | Suitable protection and a secure way to carry your phone. |
| Backups | How you will save copies and whether connectivity is needed. |
Frequently asked questions
Is a smartphone enough for wildlife photography on safari?
It can be enough for animals in their surroundings, landscapes and a personal record of the trip. Detailed images of distant or fast-moving animals are less reliable. Match your expectations to your phone’s capabilities rather than seeking a closer encounter.
Can I include smartphone photography on a first Uganda safari?
Yes, as an interest within suitable activities and subject to their rules. Start with simple controls and realistic goals. You do not need to photograph every encounter to build a worthwhile record of your trip.
Should I book independently or use a private operator?
Compare the actual arrangements. Ask about transport, group expectations, permissions, timing and any photography support. A private arrangement does not remove wildlife rules or guarantee better sightings.
How early should I prepare?
Share important photography priorities while the itinerary is being discussed. Practise photographing movement and distant subjects before departure so you have time to resolve storage, battery or handling problems.
Plan your next step
When making your safari enquiry, explain that you will be photographing wildlife with a smartphone and describe the images that interest you most. Ask what the proposed Uganda itinerary can realistically accommodate, which restrictions apply and how photography priorities might affect the pace. Clear expectations help you enjoy both the photographs and the encounters behind them.